Do you have a little corner of your home that you'd like to hide? Have you been thinking of getting a cheap room divider, but weren't sure how to pick one out? 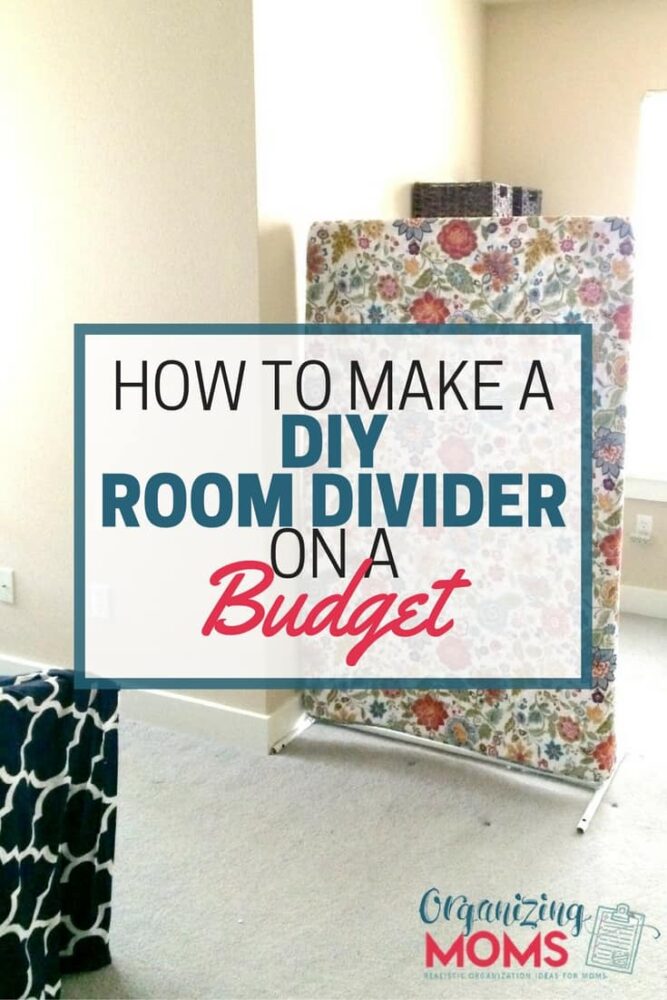 I found myself in need of a room divider to separate zones in our bedroom, and I almost invested in a cheap room divider. However, I ended up choosing to make a DIY room divider instead of purchasing one right away.
 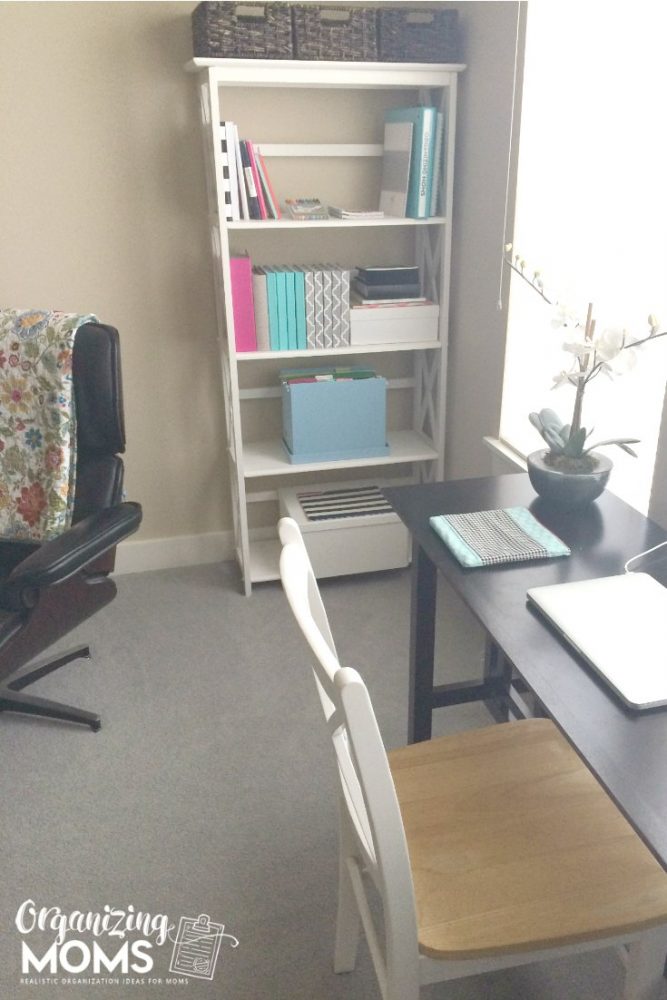 A few months ago, I set up a makeshift office space in our bedroom. Luckily, we have a little seating nook in our bedroom, so my desk and shelves fit right in.
Even though I write a blog about organizing, I'm SO not organized when it comes to my desk. I know where everything is, but it just doesn't look good.
Since my “office” was now in our bedroom, it made the whole room look cluttered. I wanted to find some kind of room divider that would block off the office stuff.
Basically, I wanted to be able to lay in bed and not have to look at my disorganized desk. Sure, I could clean up the desk, but if I'm in bed, that means I'm tired.
Looking at things realistically, desk organization wasn't going to happen.
I scoured the internet for cool room dividers we could use in our bedroom, but I wasn't able to find anything that I loved that was in our budget.
But, I sure did find a lot of cool room dividers I've added to my wish list!
For the time being, I wanted to use something we already had in our home. I thought about hanging curtains, but I didn't have the right kind of curtain rod to hang things from the ceiling.
I don't really know how to sew. Or build. So my DIY options were limited.
After sleeping on it, I came up with this solution:
Easy DIY Room Divider On A Budget
Materials needed:
- A clothing rack – I had one similar to this that had no wheels. I got it for free off of Freecycle a few years ago. If you want to do this project and don't have a clothing rack, I highly recommend trying to find a free or super cheap used one.
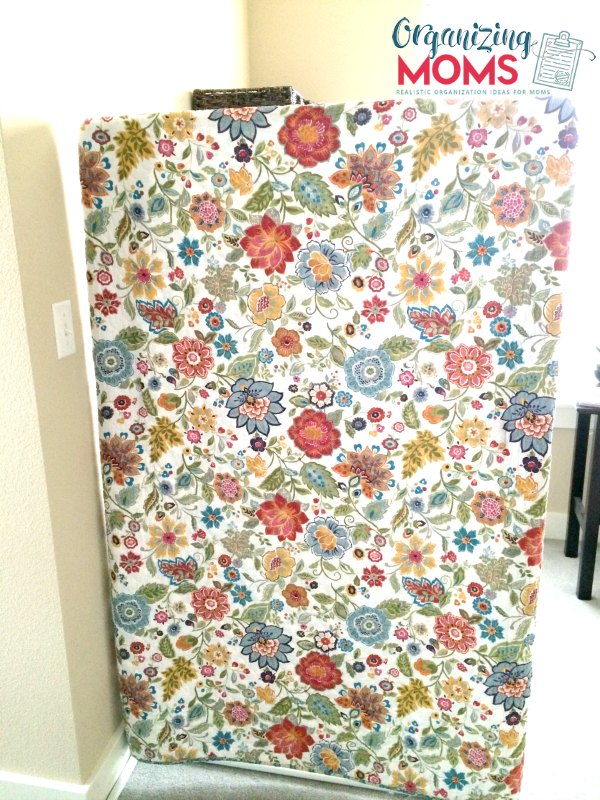
- A pretty blanket or piece of fabric – I used this blanket that I bought from Amazon a while back. Any kind of fabric you like will work.
- Safety pins. I didn't have enough, so I had to use some clothespins. It looks bad, and I'm searching around for more safety pins. Sorry about that.
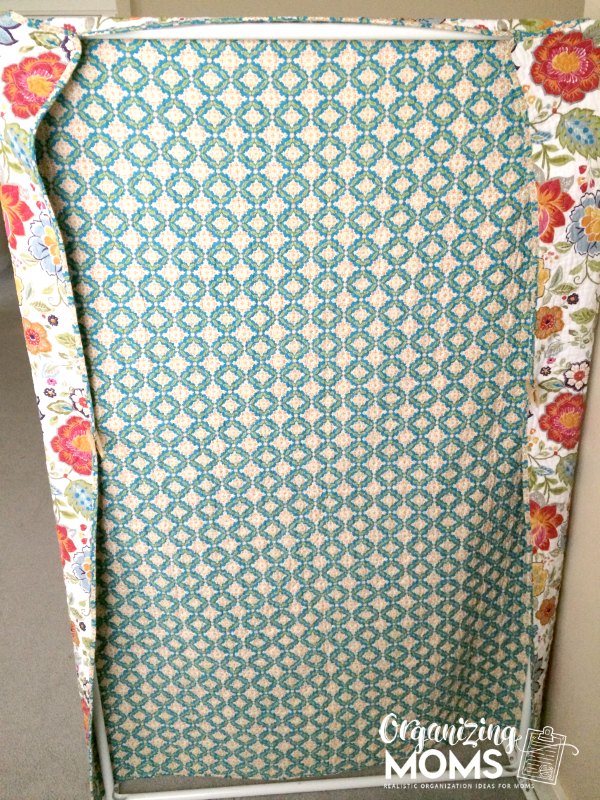
How to Make Your Own Room Divider
- Put your clothing rack in the part of the room you want to divide off.
- Attach your fabric to the rack using safety pins.
- Make sure the un-safety-pinned part faces out so you see the pretty side of the fabric.
- Marvel at your own frugality!
 I realize this isn't the coolest of all room dividers, but it does the trick!
I'm going to try it out for a while and see how it works. In the meantime, I'll be saving up my Swagbucks so I can earn enough Amazon credit to buy a true legit room divider later … if needed.