
DIY Room Divider On A Budget
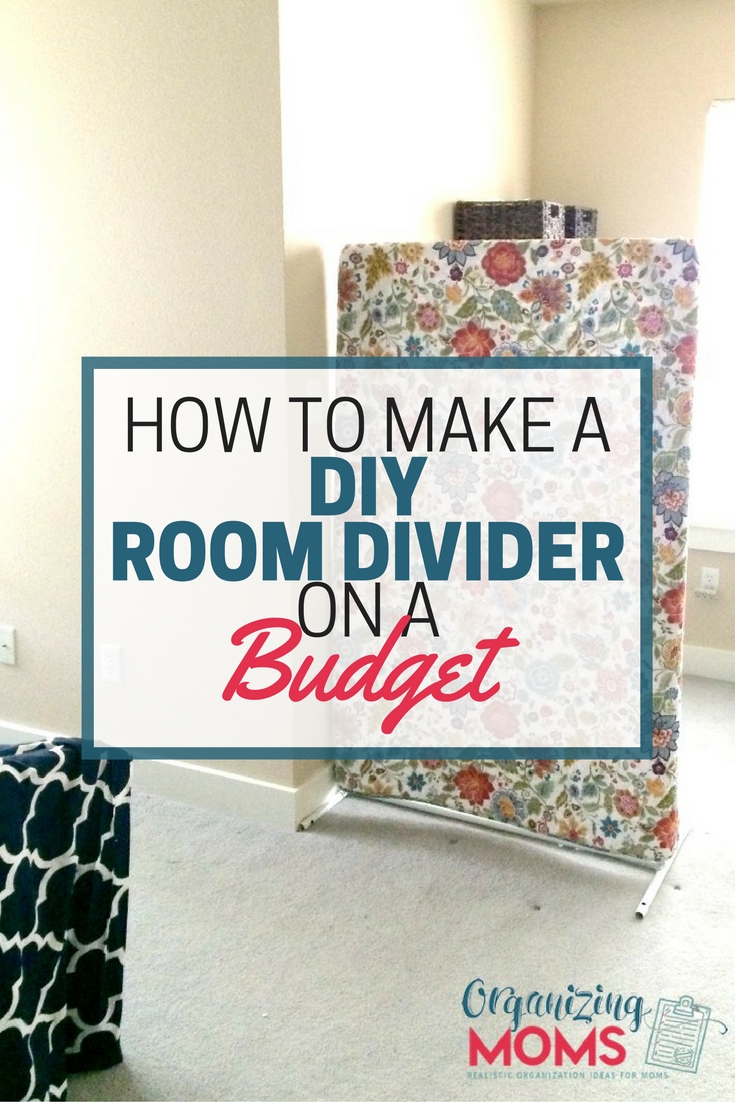
Do you have a little corner of your home that you'd like to hide? Have you been thinking of getting a cheap room divider, but weren't sure how to pick one out?  I found myself in need of a room divider to separate zones in our bedroom, and I almost invested in a cheap room divider. However, I ended up choosing to make a DIY room divider instead of purchasing one right away.
 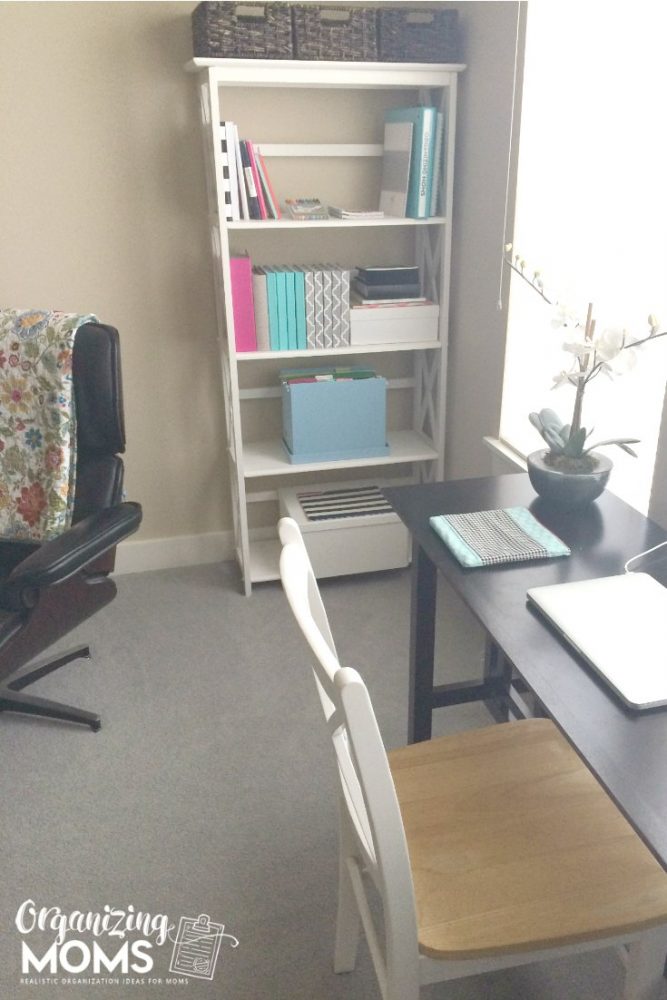 A few months ago, I set up a makeshift office space in our bedroom. Luckily, we have a little seating nook in our bedroom, so my desk and shelves fit right in.
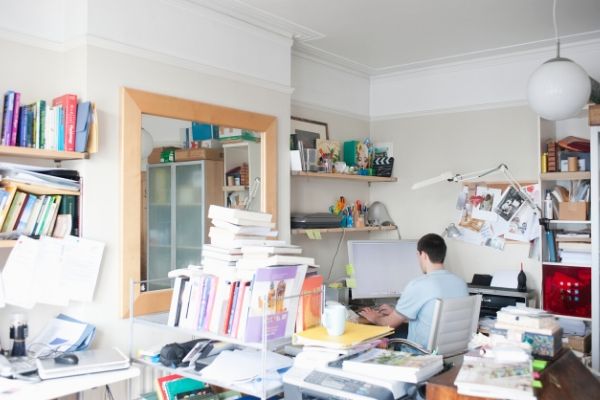
Even though I write a blog about organizing, I'm SO not organized when it comes to my desk. I know where everything is, but it just doesn't look good.
Since my “office” was now in our bedroom, it made the whole room look cluttered. I wanted to find some kind of room divider that would block off the office stuff.
Basically, I wanted to be able to lay in bed and not have to look at my disorganized desk. Sure, I could clean up the desk, but if I'm in bed, that means I'm tired.
Looking at things realistically, desk organization wasn't going to happen.
I scoured the internet for cool room dividers we could use in our bedroom, but I wasn't able to find anything that I loved that was in our budget.
But, I sure did find a lot of cool room dividers I've added to my wish list!
For the time being, I wanted to use something we already had in our home. I thought about hanging curtains, but I didn't have the right kind of curtain rod to hang things from the ceiling.
I don't really know how to sew. Or build. So my DIY options were limited.
After sleeping on it, I came up with this solution:
Related: Room Dividers on Amazon
Easy DIY Room Divider On A Budget
Materials needed:
- A clothing rack – I had one similar to this that had no wheels. I got it for free off of Freecycle a few years ago. If you want to do this project and don't have a clothing rack, I highly recommend trying to find a free or super cheap used one.
- A pretty blanket or piece of fabric – I used this blanket that I bought from Amazon a while back. Any kind of fabric you like will work.
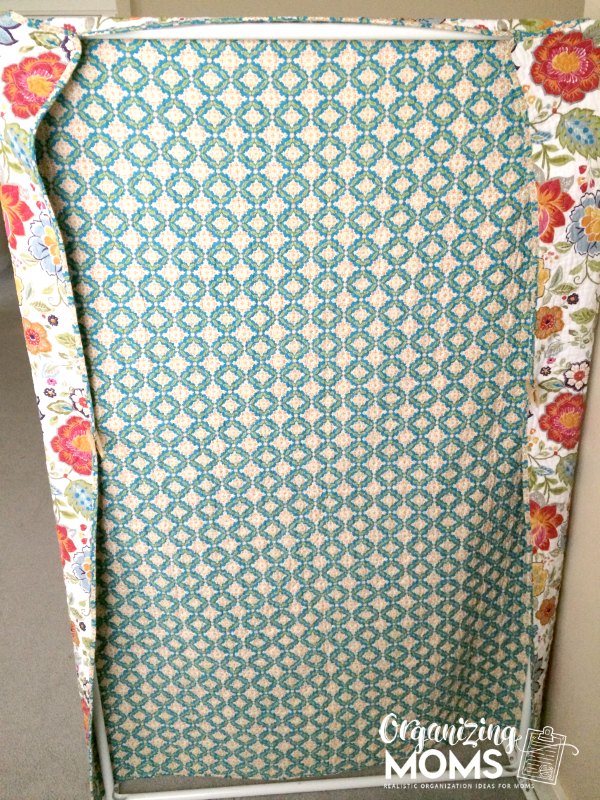
- Safety pins. I didn't have enough, so I had to use some clothespins. It looks bad, and I'm searching around for more safety pins. Sorry about that.
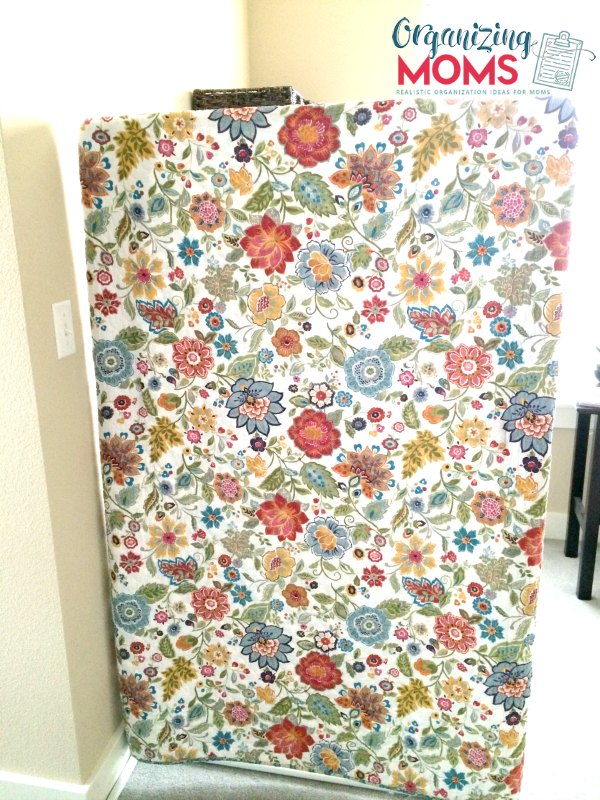
How to Make Your Own Room Divider
- Put your clothing rack in the part of the room you want to divide off.
- Attach your fabric to the rack using safety pins.
- Make sure the un-safety-pinned part faces out so you see the pretty side of the fabric.
- Marvel at your own frugality!
 I realize this isn't the coolest of all room dividers, but it does the trick!
I'm going to try it out for a while and see how it works. In the meantime, I'll be saving up my Swagbucks so I can earn enough Amazon credit to buy a true legit room divider later … if needed.
New to this community? Start here, friend!

If you don’t have a clothing rack available, pvc pieces would work just as well. A few pieces easily cut with a hack saw and a few connectors would be fairly cheap and can be custom built to fit your own space or fabric material.
Oh my! That sounds cool, but you lost me at hack saw. This would be a good idea for someone who IS handy! 🙂
There are also a ton of DIY room divider posts on Pinterest if you are a little handy! There are several that use recycled window shutters, a few small hinges and some paint. they don’t appear to be overly difficult and turned out really great. Very customizable!!
I am not handy, but maybe someone reading this post is! Sounds like some good ideas!
IKEA has a nice room divider that is fairly large for a reasonable price. I enjoyed seeing your DIY project.
What a great solution and it looks good too!
You can find a similar clothing rack at Dollar General.