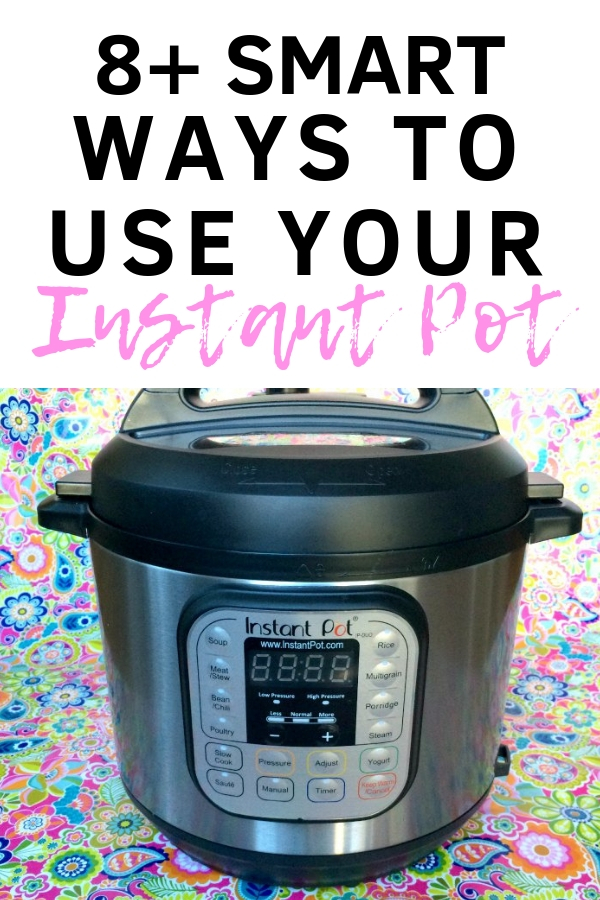
How to Deep Clean Your Instant Pot
Step-by-step directions showing you how to deep clean your Instant Pot. Specific ideas for hand-washing Instant Pot parts so they'll last.
How to Deep Clean Your Instant Pot
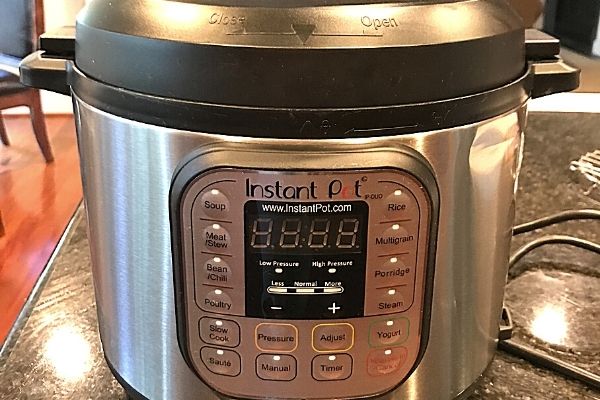
You probably wash your inner pot, lid, and seal ring, and wipe the exterior of your Instant Pot out every time you use it, but after several uses, it really needs a good deep cleaning.
Never get the cooker base wet, but the inner pot and lid pieces are dishwasher safe.
The extreme heat from the dishwasher may shorten the lifetime of your pieces.
If you still want to run it through the dishwasher, the inner pot should be placed on the bottom rack, the smaller lid pieces in the silverware basket, the lid assembly on the top rack, and the seal ring can go on either rack.
The instructions below are for hand-washing your Instant Pot pieces.
Step 1: Open Up the Instant Pot
Unplug your Instant Pot, remove the lid, and set it aside.
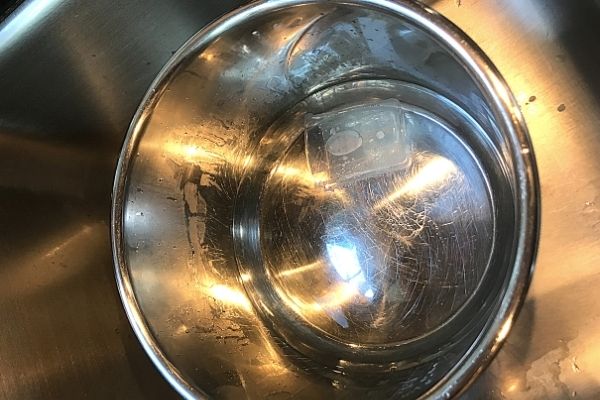
Remove the inner pot and place it in the sink. Add one cup of white vinegar and 2 cups of hot water. Spray the sides with white vinegar.
Remove the condensation collection cup and rinse it out. Put it in the inner pot to soak.
Step 2: Disassemble the Lid
Remove the silicone seal ring, and check for cracks and tears. If you find any, you need to buy a new seal ring. If it still looks good, toss it in the inner pot to soak.
Remove the anti-block shield by pushing it towards the outer edge of the lid until it pops off, and soak it in the inner pot. (See video above)
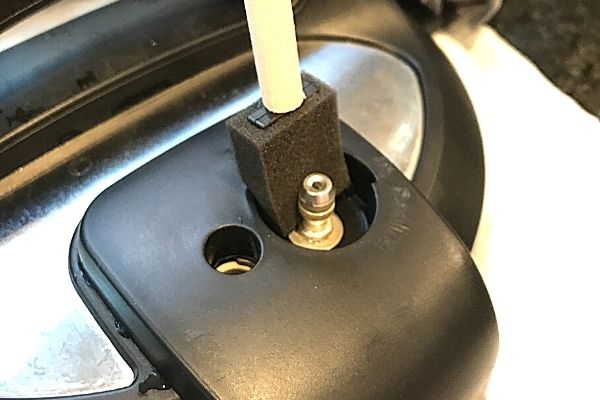
Disassemble the float valve by removing the silicone cap from the underside, then pushing the valve through the top. Put both pieces in the inner pot to soak
Remove the release valve by pulling it out, then soak it in the inner pot.
Step 3: Clean the Lid Assembly
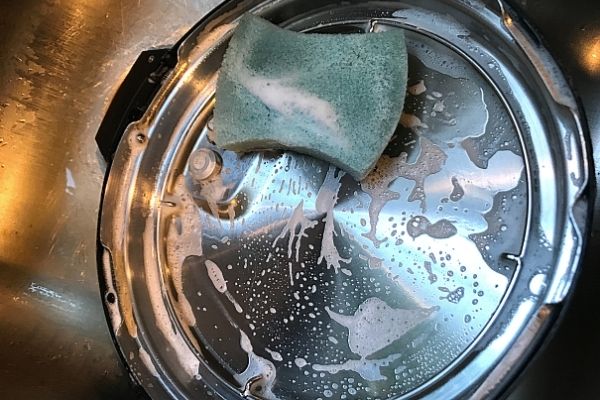
Scrub the underside of the lid with a wet, soapy sponge, paying special attention to the sealing ring rack and exhaust valve. Use an old toothbrush to remove any caked on food particles from these areas.
Wash the top side of the lid and check around the exhaust valve and float valve for any food particles. Clean with a toothbrush as needed.
Rinse the soap off, wipe the lid dry, and set it aside.
Step 4: Wash and Reassemble the Lid Pieces
Use a toothbrush or a small foam brush to scrub all of the lid pieces clean. Rinse under warm water and dry with a microfiber cloth.
Reassemble the seal ring, anti-block shield, float valve and release valve. Set the clean lid aside.
Step 5: Clean the Cooker Base
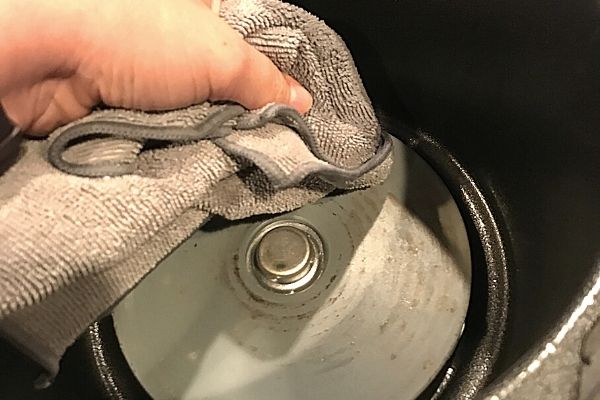
Never put the cooker base in water.
To clean, wipe down the inside of the cooker base with a damp microfiber cloth. Make sure to get any debris out of the bottom of the cooker base and around the heating element.
Use a damp microfiber cloth to wipe out the lid locking channel. If there’s any dried on gunk, clean with an old toothbrush.
Wipe down the outside of the cooker base and the cord, then wipe the entire base dry with a clean microfiber cloth.
Wash and dry the condensation collection cup and set it aside.
Step 6: Wash the Inner Pot
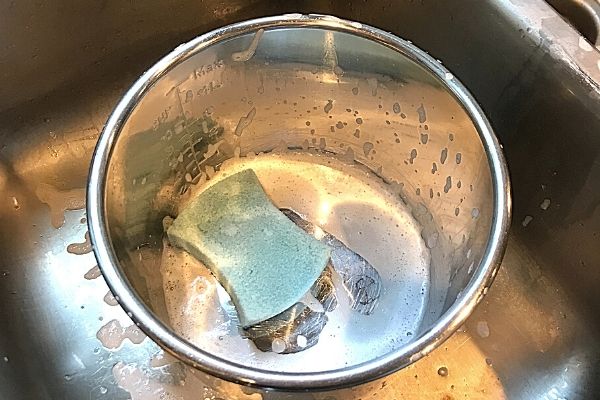
Scrub the inside and outside of the inner pot with a soapy kitchen sponge.
If you notice a blue tinted discoloration, it’s perfectly normal and common with stainless steel cookware. You can clean it by scrubbing with a stainless steel cleaner and a kitchen sponge.
Rinse the inner pot and wipe it dry.
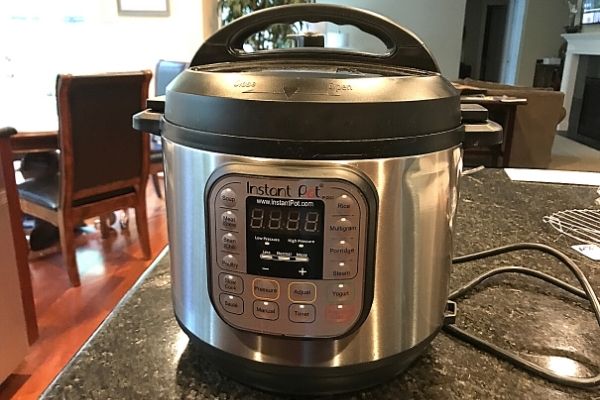
Step 7: Reassemble Your Instant Pot
Place the inner liner back in the cooker base, re-attach the condensation collection cup, and put the lid on.
Use Your Instant Pot

Now that your Instant Pot is sparkling clean, why not try a new recipe for dinner tonight? Here are some ideas:
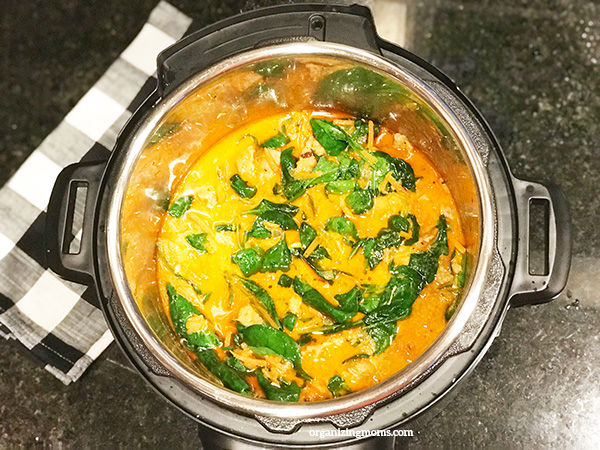
- Easy Instant Pot Chicken Coconut Curry
- How to Cook Frozen Broccoli in the Instant Pot
- Instant Pot Uses: 10+ Incredible Ways to Use Your Instant Pot
New to this community? Start here, friend!
Download your cheat sheet now!

Get instant access to this helpful Electric Pressure Cooker Cheat Sheet when you subscribe to the Organizing Moms newsletter.